Baldur's Gate 3: Gauntlet of Shar puzzle guide for BG3
It’s no secret that Baldur’s Gate 3 really wants you to dive into the lore of Shar and the inner workings of the religion. Not only is it the main focus of Shadowheart’s questline, but you’ll get a very early quest called Find the Nightsong which will direct you in the direction of the Gaunlet of Shar.
If you’re expecting some cool pieces of armor then we have to disappoint, as this is a gauntlet in the sense of a series of challenges and puzzles that you must overcome. It’s an extensive quest and pretty challenging, so here is our full Gauntlet of Shar walkthrough.
Mausoleum Puzzle – BG3

Larian Studios
In the Mausoleum you’ll find three murals that are covered in traps. It’s best to take control of just a single party member and either disarm or maneuver around the traps. Either way, mousing over the three murals will show you they depict Moonrise Tower, General, and Grief.
To pass the puzzle, activate the button below each of them in this order:
- Moonrise Tower
- Grief
- General
A new doorway will open for you to progress onwards.
Lantern puzzle – BG3

Larian Studios
This puzzle looks obtuse at first, but the solution is very simple. In each of the side rooms, there are levers and you need to pull all of them. However, naturally, there are traps everywhere, so take someone with high perception and disarming kits to do the job. There’s also a locked door in this room with a quest-giver behind it, so it’s worth bringing some Thieves' Tools.
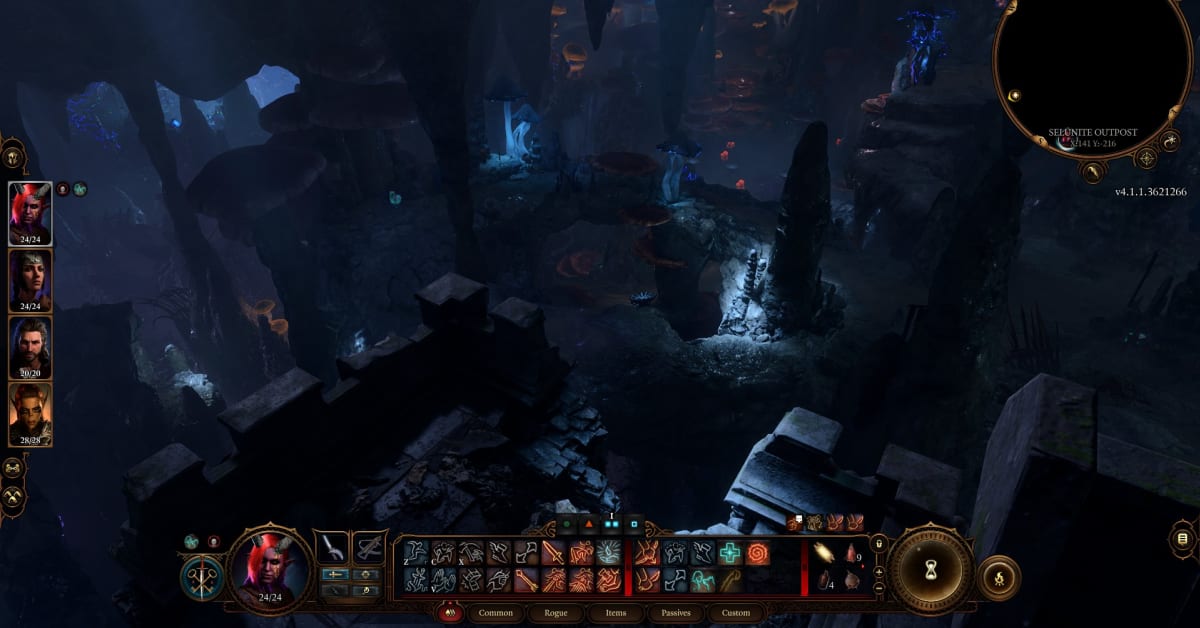
Gauntlet of Shar trials – BG3

Larian Studios
You’ll now come to a large room with three trials you must complete to get Umbral gems, plus a fourth gem stowed in the room to the right.
- The Soft-Step trial
- The Same-Self trial
- The Faith Leap trial
You’ll also find the Silent Library here. This is an optional area and part of the Find the Nightsong quest.
Soft-Step trial – BG3
This is a stealth-focused trial where one character will need to navigate a maze of shadows to get the Umbral gem. If you have a Rogue in your party then now is their time to shine, and we recommend using an Invisibility Potion if you have one. Plus, don’t forget that you can press Shift at any time to see NPC’s cones of vision, helping you stay out of sight – check out more BG3 tips like that at that link.
Same-Self trial – BG3
This is a combat trial where your party will face shadow versions of themselves. Crucially, each party member must fight their own clone, as fighting any other will inflict a debuff. This is pretty straightforward, just be sensible with your attacks and each character should be able to take out their clone with little issue.
Faith-Leap trial – BG3
This final trial is a bit of guesswork as you’ll need to walk along some invisible platforms to reach the gem. It’s recommended that you use Lae’zel for this one, as her improved jump ability will come in handy.
As you enter the room, go over to the left-hand wall and run along it to the next platform. From there, move towards the middle platform in a stair-like pattern, edging forward a little, then heading right, then up again, then right again until you’re aligned with the middle platform and can drop down.
On that platform, move over to the back edge and stand to the right. Move forwards until you’re close enough to make a jump to the final platform.