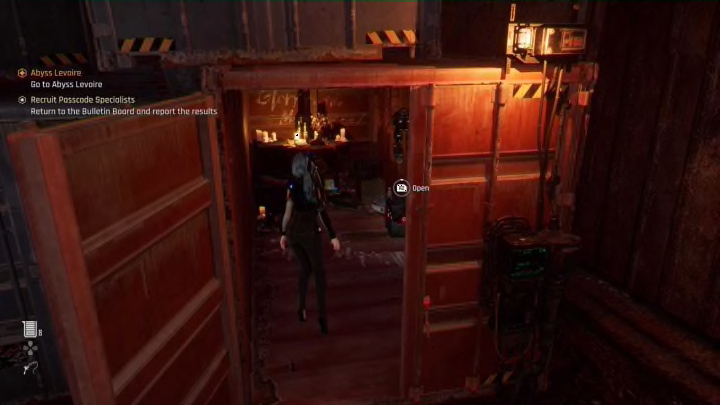
Stellar Blade: Recruit Passcode Specialists solution

One of the most difficult side missions in Stellar Blade is the Recruit Passcode Specialists mission, which is unlocked while in the Great Desert. Players have been struggling where to find the passcode, and even if you know the passcode you can’t input it until you have found each piece of the puzzle. If you’re struggling to find the passcode we’ve broken the process down for you.
How to find the passcode for Recruit Passcode Specialists
The key lies in the line “It looked like some people had made this place their hideout. After an initial investigation I discovered it was a place where ‘Followers’ would gather to pray.” This should clue you in to the fact that you need to locate the passcode at a shrine. However, it’s not just one shrine, but six, and each shrine will give you one letter for the passcode. If you check how many shrines you have found in the menu, under the Prayers section of the Data Bank. There are seven prayers total, and the final prayer is unlocked once you complete the quest. If you’re missing some prayers, we will list all their locations below.
Chapter of Trial 1 – Matrix 11
You probably have the first prayer as you can find it along the critical path, but here’s what to do if it’s still missing. You will need to return to the Survivors’ Camp in Matrix 11. The closest fast travel point is the Rail Yard. Return to the camp and climb up to the shrine above the rest point where the cutscene played. Talk to the altar again to grab the prayer and your first piece of the passcode.
Chapter of Trial 2 – Great Desert
The next three shrines can be found in the Great Desert. From the Abyss Levoire fast travel point, travel north-east and you will find a couple of abandoned buildings called Buried Ruins. If you look at the first building you come across from this direction, you should see a light shining from the top floor of the collapsed structure. Climb up here for the second prayer and piece of the passcode.
Chapter of Trial 3 – Great Desert
The third prayer is also in the Great Desert, and can be found in the south-east corner of the map. The closest fast travel point is Way to the Solar Tower, so we’ll start there. Travel north so that the broken overpass is on your right, and you’ll see a path leading down a break in the broken buildings. There is a hole in the side of a building on the right, and you can find the third shine and prayer inside.
Chapter of Trial 4 – Great Desert
The final prayer that can be found in the Great Desert is towards the west of the map, as is not too far from the Tetrapod. You should slide down the tunnel, making sure to avoid all of the dangers along the way. Once you have cleared this, you will land in a pool of water. As soon as you land, turn directly to your right and you will see a narrow path of land that will lead to the next shrine and the fourth prayer.
Chapter of Trial 5 – Wastelands
The next two prayers can be found in the Wastelands, and the closest fast travel point is Western Great Canyon. You only need to go slightly east of here, and you will find a small opening in the cliff wall. This can be found near the entrance to a smaller pathway. Inspect the shrine for the fifth prayer.
Chapter of Trial 6 – Wastelands
The final prayer is found in the south-east corner of the Wastelands, and is most easily reached by going to the Abyss Levoire fast travel point. Travel north and to the east down the narrow path, until you find another hole in the wall that holds the final shrine.
Entering the passcode for Recruit Passcode Specialists
The crate where you have to enter the passcode is located on the Wastelands map, but it can be hard to find as it’s inside an abandoned ship near the Western Great Canyon fast travel point. Once you enter the ship, turn left and beat a few Naytiba to find where you need to input the passcode.
This is the one passcode that won’t give you a hint as to what you should input, but you can see the symbols if you look at the prayers in order. However, if you don’t want to write it down, we have it shown below.
Aside from the 20,000 gold that you will get from completing the mission, you’ll also be rewarded with the final prayer and the La Vie en Rose Nano Suit.
