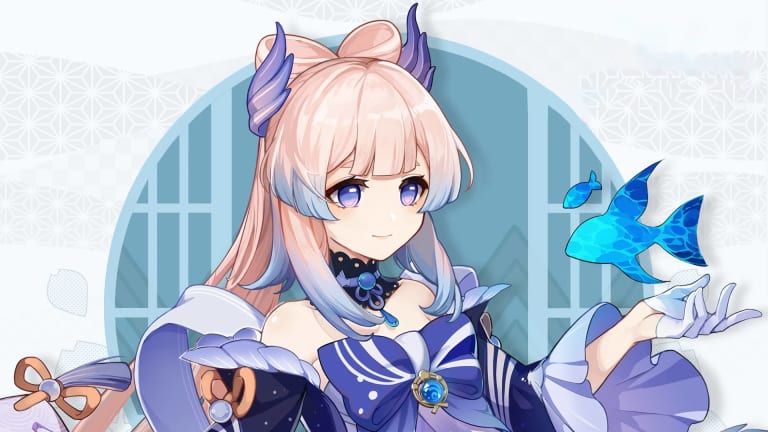
Genshin Impact Kokomi build and materials guide

Prepare to survive hardship with the best Genshin Impact Kokomi build, unlocking the power of one of the most essential characters in the game. What a turnaround it has been for her: at Sangonomiya Kokomi’s release, the community ridiculed her for being too weak for a 5-star – how wrong they were. Watatsumi Island’s chief priestess has not only become the best healer, she’s a potent DPS character as well under the right circumstances. There are few characters in the game which fit into more different team compositions than her.
Kokomi’s Elemental Skill, Kurage’s Oath, summons a bake-kurage (a water spirit in the form of a jellyfish) that deals Hydro Damage and heals allies in the area around it at fixed intervals. It stays on the field even if Kokomi is switched out, making it an excellent off-field Hydro applicator. The amount of HP it can restore depends on Kokomi’s maximum life.
Her Elemental Burst, Nereid’s Ascension, deals an initial burst of Hydro Damage before boosting Kokomi’s standard, charged, and bake-kurage damage based on her maximum HP. Also, when her attacks hit opponents in this state, she’ll recover HP for the entire team based on her own maximum HP. Furthermore it allows Kokomi to walk on water.
Best Kokomi weapons – Genshin Impact
Kokomi’s signature weapon, Everlasting Moonglow, is the best choice for her in most cases. It boosts her maximum HP, which helps both her healing and damage, provides an additional buff to Standard Attacks based on maximum HP, and increases the Healing Bonus by up to 20%. It allows Kokomi to restore some Energy with Standard Attacks after using an ability as well, plugging one of her few weaknesses.
If you want to specialize Kokomi in healing only, then Thrilling Tales of Dragon Slayers is a good option.
Here are the best weapons for Kokomi in Genshin Impact:
- Everlasting Moonglow (5-star catalyst)
- Prototype Amber (4-star catalyst)
- Hakushin Ring (4-star catalyst)
- Thrilling Tales of Dragon Slayers (3-star catalyst)

Kokomi has a surprising amount of offensive power at her disposal, despite mainly being a healer.
HoYoverse
Best Kokomi artifacts – Genshin Impact
There are two paths in terms of artifacts for Kokomi as well: For a total healing specialization, a full kit of Tenacity of the Millelith is recommended. It’ll provide additional HP as well as a powerful support aura for the entire team.
For a more versatile build that has some offensive oomph to it as well, you’ll want a full set of Ocean-Hued Clam. It provides a Healing Bonus buff and comes with an offensive effect that deals Physical Damage in the area around it based on the amount of healing Kokomi does.
You should get the following stat distribution on Kokomi’s artifact set:
- Flower: HP (main stat), HP %, Energy Recharge, Elemental Mastery, Attack % (secondary stats)
- Plume: Attack (main stat), HP %, Energy Recharge, Elemental Mastery, HP (secondary stats)
- Sands: HP % (main stat), Energy Recharge, Elemental Mastery, HP, Attack % (secondary stats)
- Goblet: Hydro Damage % (main stat), HP %, Energy Recharge, Elemental Mastery, HP (secondary stats)
- Circlet: Healing Bonus % or HP % (main stat), Energy Recharge, Elemental Mastery, HP, HP % or Attack % (secondary stats)

Kokomi's Constellation is called Sleeping Dragon as a reference to fellow strategist Zhuge Liang from Romance of the Three Kingdoms.
HoYoverse
Best Kokomi teams – Genshin Impact
Kokomi is by far one of the most versatile characters in Genshin Impact thanks to her immense utility as an off-field Hydro applicator, healer, and on-field damage dealer – she offers a fantastic package. Here are a few team compositions Kokomi works well with.
Kokomi works as the main Hydro applicator in a Freeze team, spraying enemies with water and preparing them to be frozen. Because she heals the team at the same time, she fills two critical spots all by herself. That leaves room for both Shenhe and Kazuha, who greatly buff the damage output of Ayaka.
- Kokomi (Main DPS), Yelan (Sub DPS), Raiden Shogun (Sub DPS), Nahida (Support)
Kokomi can be the Main DPS or a Sub DPS on any Bloom team thanks to her continuous Hydro application. Again, it’s fantastic that she’s healing the team at the same time, freeing up space to add another powerful character to the team instead of a healer. In this case, Yelan or Xingqiu can support Kokomi’s damage output with their own off-field attacks, as does Raiden Shogun. She is the team’s battery at the same time, generating particles to recharge abilities. You can use other Electro characters like Fischl or Yae Miko in her place. Finally, Nahida or Dendro Traveler create the necessary Dendro effects for this strategy to work.
- Kokomi (Main DPS), Beidou (Sub DPS), Fischl (Sub DPS), Sucrose (Support)
Another effective team archetype with Kokomi is one with two Electro and an Anemo character using the Electrocharged reaction. The two Electro characters provide their element as well as their Elemental Resonance, while Kokomi does the rest with her Hydro attacks. The Anemo slot is there to reduce the elemental resistance of enemies through the Swirl reaction and the artifact set Viridescent Venerer.

Kokomi works well with a grand variety of characters thanks to her own utility.
HoYoverse
Kokomi ascension materials – Genshin Impact
You’ll want to quickly raise Kokomi’s level when you finally pull her, which means that you’ll need to farm her ascension materials. You’ll also require some material to upgrade her talents.
Here’s what you need to get Kokomi to level 90:
- Varunada Lazurite Sliver x1
- Varunada Lazurite Fragment x9
- Varunada Lazurite Chunk x9
- Varunada Lazurite Gemstone x6
- Spectral Husk x18
- Spectral Heart x30
- Spectral Nucleus x36
- Sango Pearl x168
- Dew of Repudiation x46
- Mora x2,092,530
Varunada Lazurite can be obtained from any Hydro-affiliated boss on the world map, such as the Hydro Hypostasis below Watatsumi Island, which you’ll in any case need to defeat for its Dew of Repudiation – two materials, one boss. Spectral Husks, Hearts, and Nuclei are drops from the Specters haunting Watatsumi Island, Seirai, Enkanomiya, and a few places in Sumeru.
Sango Pearls may only be found on Watatsumi Island in the shallow waters around and below the Sangonimiya Shrine itself. The best way to earn more Mora in the game is to farm golden Ley Line Blossoms.
Here’s what you need to upgrade all of Kokomi’s talents to their maximum level:
- Spectral Husk x18
- Spectral Heart x66
- Spectral Nucleus x93
- Teachings of Transience x9
- Guide to Transience x63
- Philosophies of Transience x114
- Hellfire Butterfly x18
- Crown of Insight x3
- Mora x4,957,500
For the materials already mentioned, check above. You’ll need to visit the Violet Court Domain on Monday, Thursday, and Sunday to farm Scrolls of Transience. Hellfire Butterflies are a boss item only dropped by La Signora, so you’ll need to defeat her at Tenshukaku to obtain them – a great excuse to listen to the excellent soundtrack of that boss fight.
Crowns of Insight are a rare item gained from time-limited events or regional reward mechanics like the Tree of Dreams in Sumeru or the Grand Narukami Shrine in Inazuma.