Warhammer 40,000: Rogue Trader – how to beat the Heralds of Corruption on the Drifting Voidship
Some of the dungeons in Warhammer 40,000: Rogue Trader are pretty nasty and may even feel unfair when you first run through them. One of these is the Drifting Voidship you’ll find quite early on in the game after you departed from Footfall in search of your lost territories.
When you first enter this wrecked ship you’ll notice Warp aura everywhere and encounter many Tech-Priests that have gone mad. Things get a lot creepier the deeper you go into the ship and the mean traps set up everywhere don’t exactly help you relax in any way.

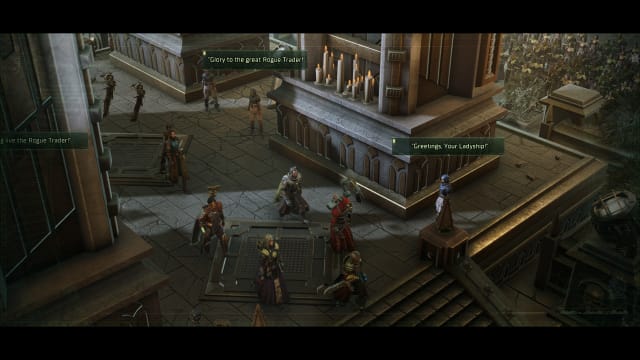
The Drifting Voidship is a creepy place and the Heralds of Corruption are a nightmare.
Owlcat
After going deep into the ship and restoring power to it, you’ll want to make your way back to the main door you couldn’t open after arriving – and that’s where you’ll find two very difficult battles against the mad Tech-Priests waiting for you. While the enemies themselves aren’t really much of a problem, the fact that they are supported by Heralds of Corruption very much is.
This guide will help you defeat the Heralds of Corruption in Warhammer 40,000: Rogue Trader and clear the Drifting Voidship.

You'll encounter the Drifting Voidship in the Aviorus system.
Owlcat
Warhammer 40,000: Rogue Trader – what is a Herald of Corruption?
Heralds of Corruption are little speakers mounted on the wall, which you probably won’t even notice when the fight against the mad Tech-Priests and their Servitors start. Whenever a Herald of Corruption takes its turn, it will provide every enemy in the fight with temporary HP, essentially healing them up – and the infuriating thing is that this includes other Heralds of Corruption, which just feels unfair. What’s more, since these units are mounted on walls the pathfinding absolutely breaks down, making it a hassle to position your melee characters to attack these things.
As long as you don’t defeat these support units, you won’t be able to win the battle, since the enemy will triumph in a war of attrition.

Warhammer 40,000: Rogue Trader – how to win the Herald of Corruption fights
It’s quite simple, on paper: Ignore all the other enemies and focus on taking down the Heralds of Corruption. It helps when you have Abelard built as a tank, as he can distract the enemy while the rest of the team works to destroy the Heralds of Corruption. Heinrix’ healing skills came in handy for me as well, as he was able to help Abelard stem the enemy tide long enough for this plan to come to fruition.
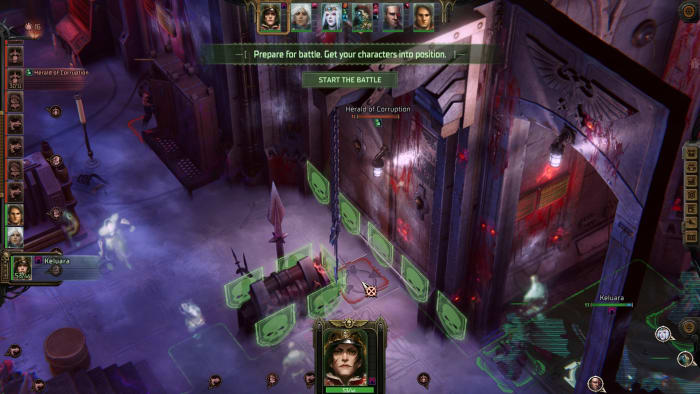
In the first battle, you’ll spot one Herald of Corruption on the right wall along the raised gangway and the other mounted on a pillar on the left side of the area. Be aware that you can only attack the right one along the wall with melee characters, while you have to shoot down the left one – though I can’t say for sure if that’s intended or the pathfinding just didn’t let me attack the left one.
Battle #1: Heralds of Corruption locations
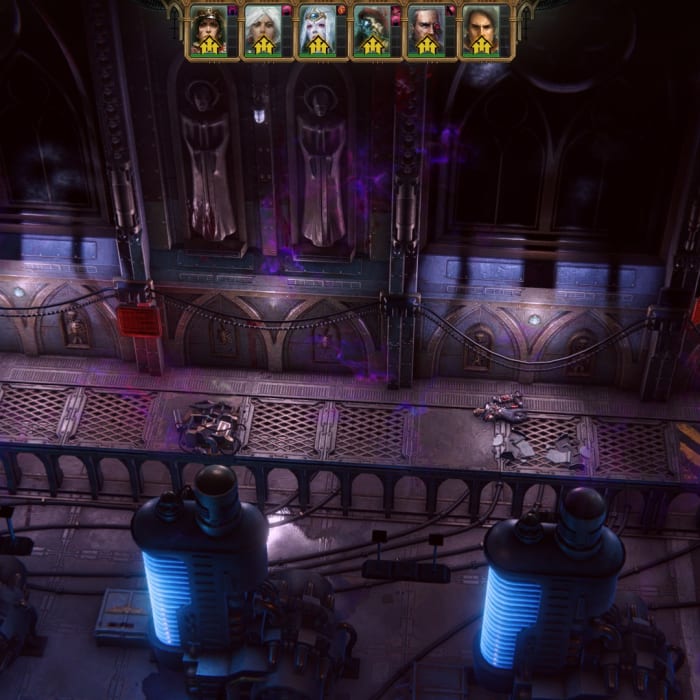
Owlcat
Concentrate all possible fire on these one at a time to take them down quickly – remember, they will buff each other up, making it ineffective to attack both at the same time.
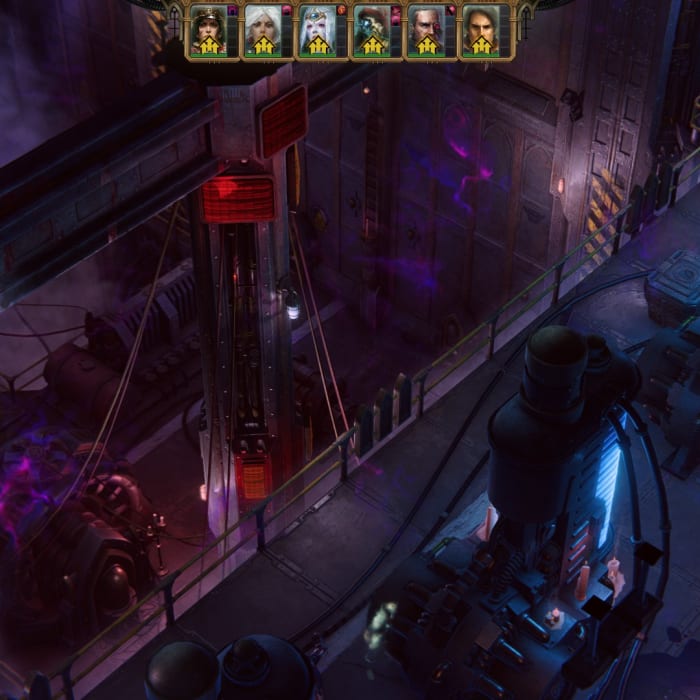
In the second battle, you must overcome four Heralds of Corruption, one on each of the four walls of the room. All of these can be attacked with melee characters.
One is right next to the entry you came through and can be taken down pretty quickly, which goes for the one on the left wall as well.
Battle #2: Heralds of Corruption locations


I charged at both at the same time with Abelard and Heinrix in addition to unloading all available firepower on them (plus extra turns given by my Rogue Trader and Cassia), allowing me to kill two Heralds of Corruption quickly. You’ll then need to move into the right side of the room to get closer to the remaining two Heralds of Corruption. One is on the wall to the right of the podium with lots of computer controls on it, facing the entry you came in through. The other is hidden behind a pillar on the end of the room, which makes it the trickiest to get to.
Try to divert the enemy’s attention with your tanks again while the rest of the group handles the remaining Heralds of Corruption one by one. Once that’s done, you should be able to get rid of the Tech-Priests and Servitors relatively easily. Snipe the Vox Skulls first, since they'll provide heals to the other enemies and prolong the fight.
While this is the last time you’ll face Heralds of Corruption on this ship, another challenging fight lies ahead of you in the compartment you can now access: A giant Forgefiend will be coming at you. Make sure to spread out your characters well in this fight, as it uses powerful area-of-effect attacks that deal massive damage and can knock your characters around. Since it attacks in reaction to taking damage, this is another very unpleasant fight – but it doesn’t feel as unfair as the ones against the Heralds of Corruption.

This Forgefiend is the final boss on the Drifting Voidship.
Owlcat
Be sure to learn how to clear the Ancient Bunker in Warhammer 40,000: Rogue Trader as well and stay flexible by knowing how to respec your character in Warhammer 40,000: Rogue Trader.